How to Remove Wallpaper Like a Pro: A Step-by-Step Guide
Removing wallpaper can seem like a daunting task, but with the right approach, you can tackle it like a pro. Whether you're updating a room or simply want a change, following these steps will ensure a smooth process. Let's dive into the details of removing wallpaper efficiently.
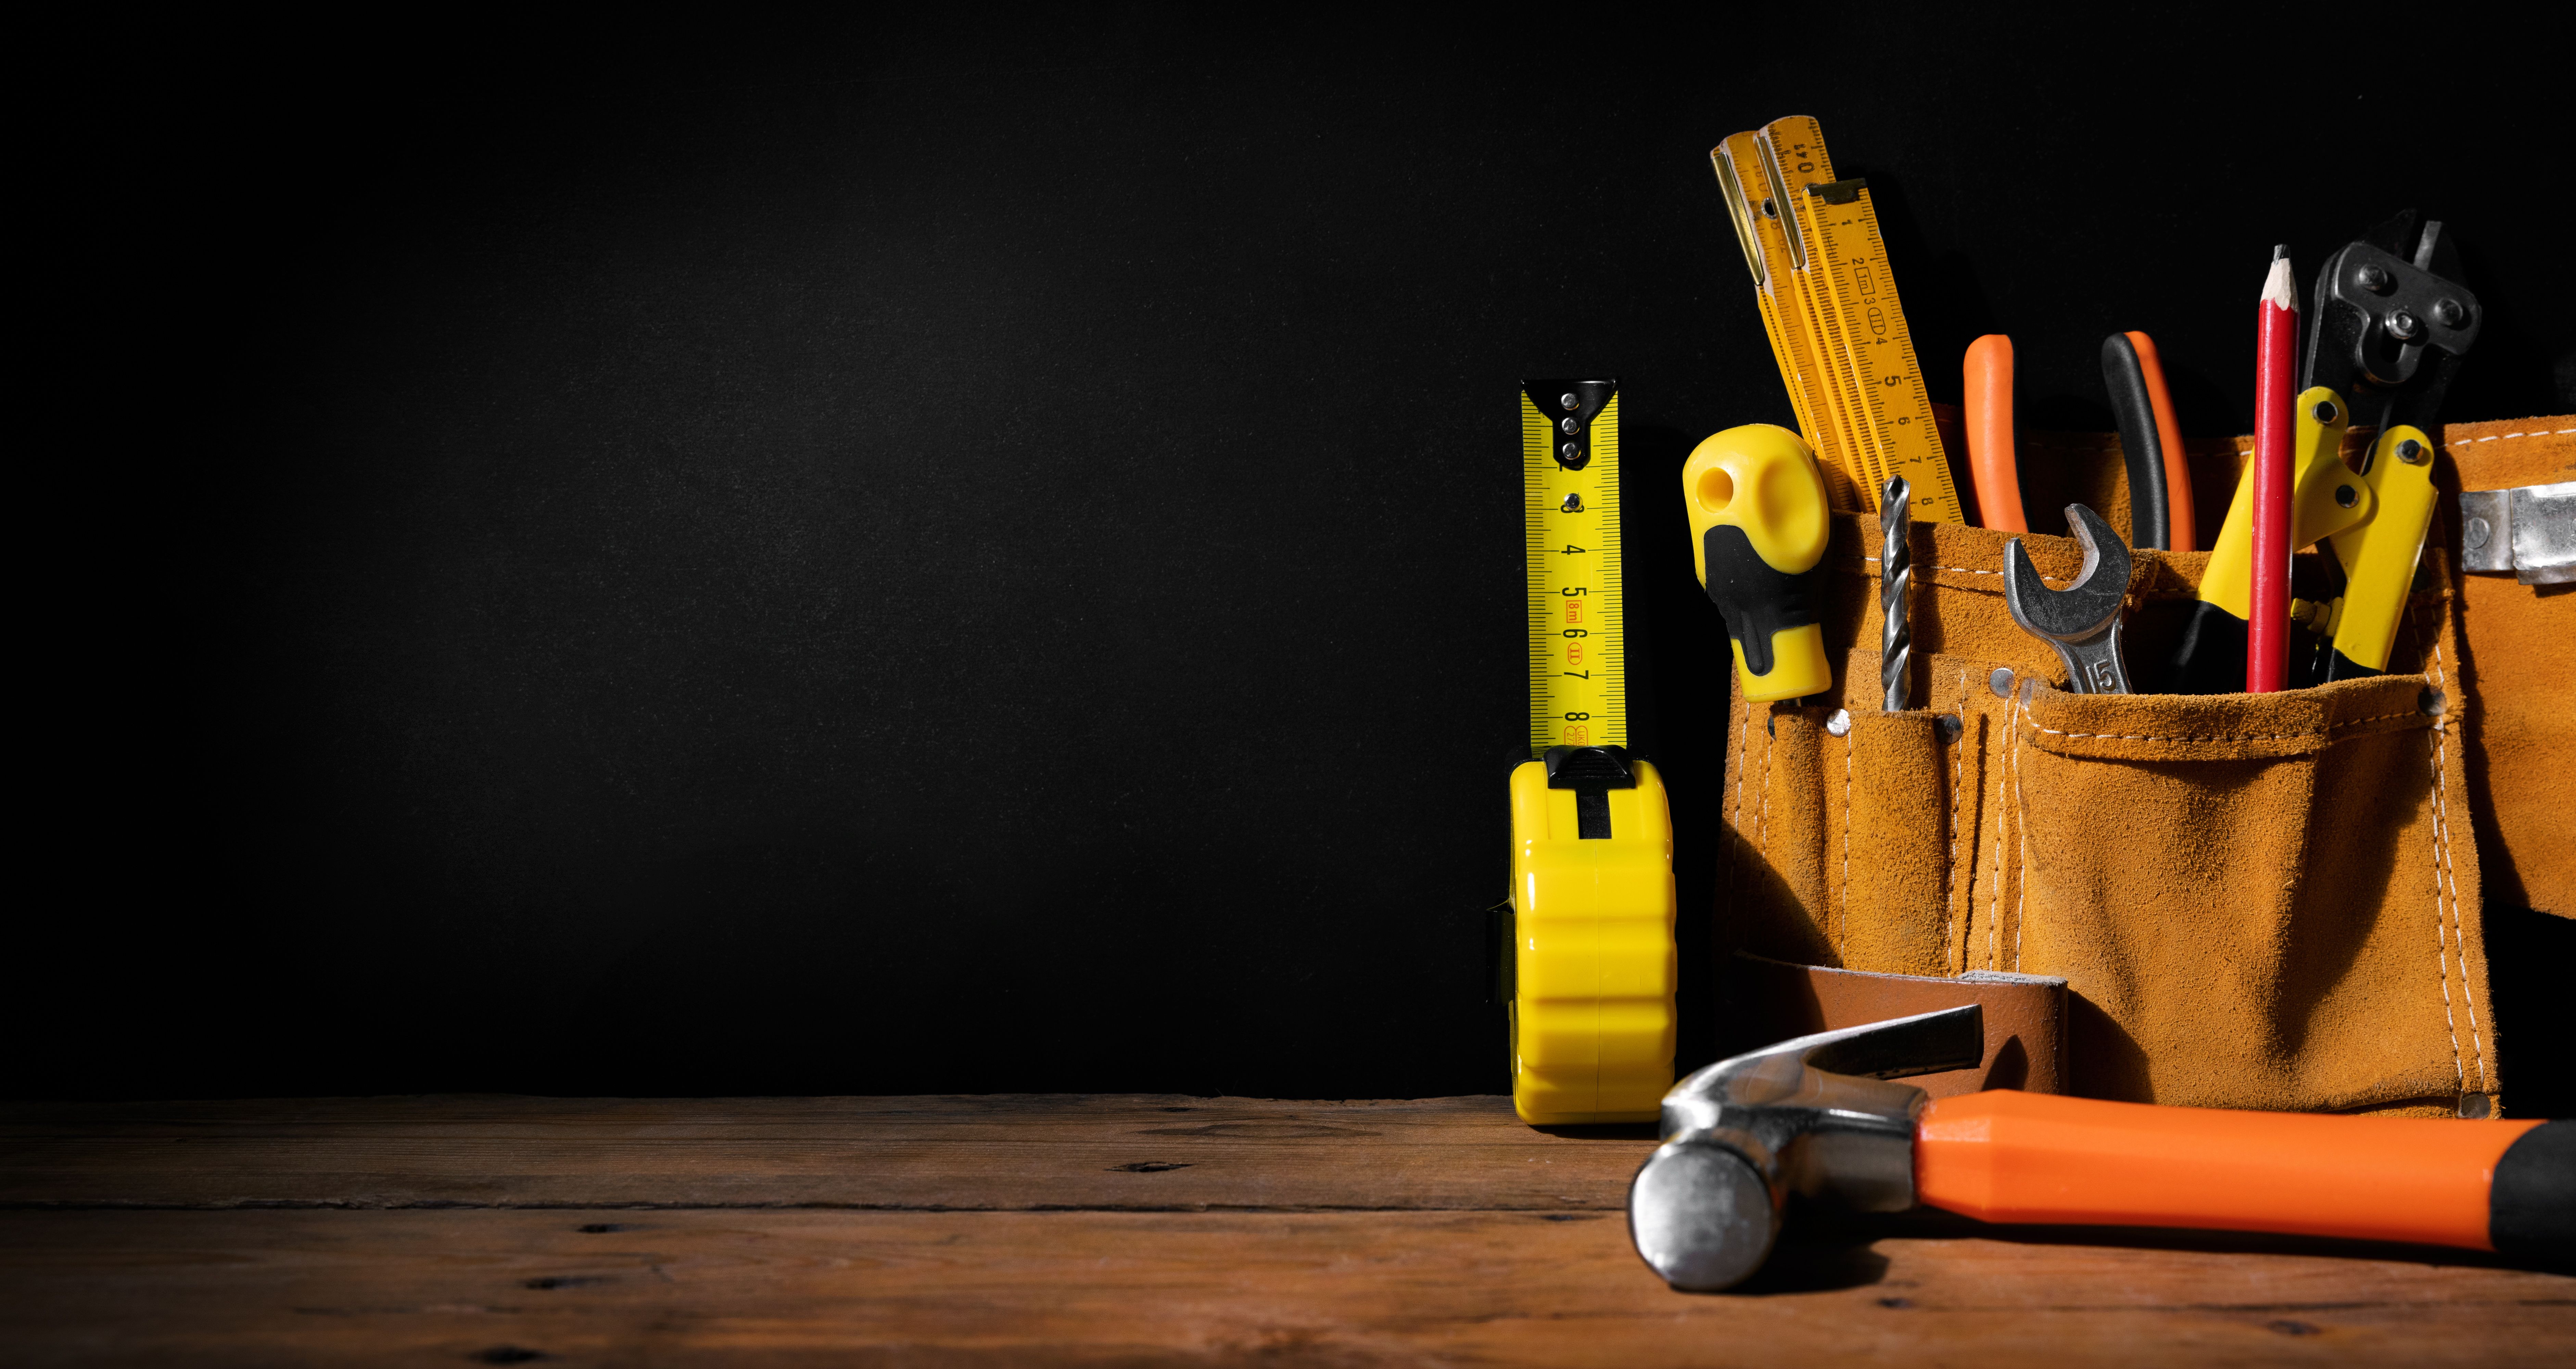
Gather Your Supplies
Before you start, make sure you have all the necessary supplies. Having everything on hand will make the process much smoother. You'll need:
- Wallpaper scraper or putty knife
- Wallpaper removal solution or homemade mixture (water and vinegar)
- Sponges or cloths
- Bucket
- Tarp or drop cloth to protect floors
- Safety goggles and gloves for protection
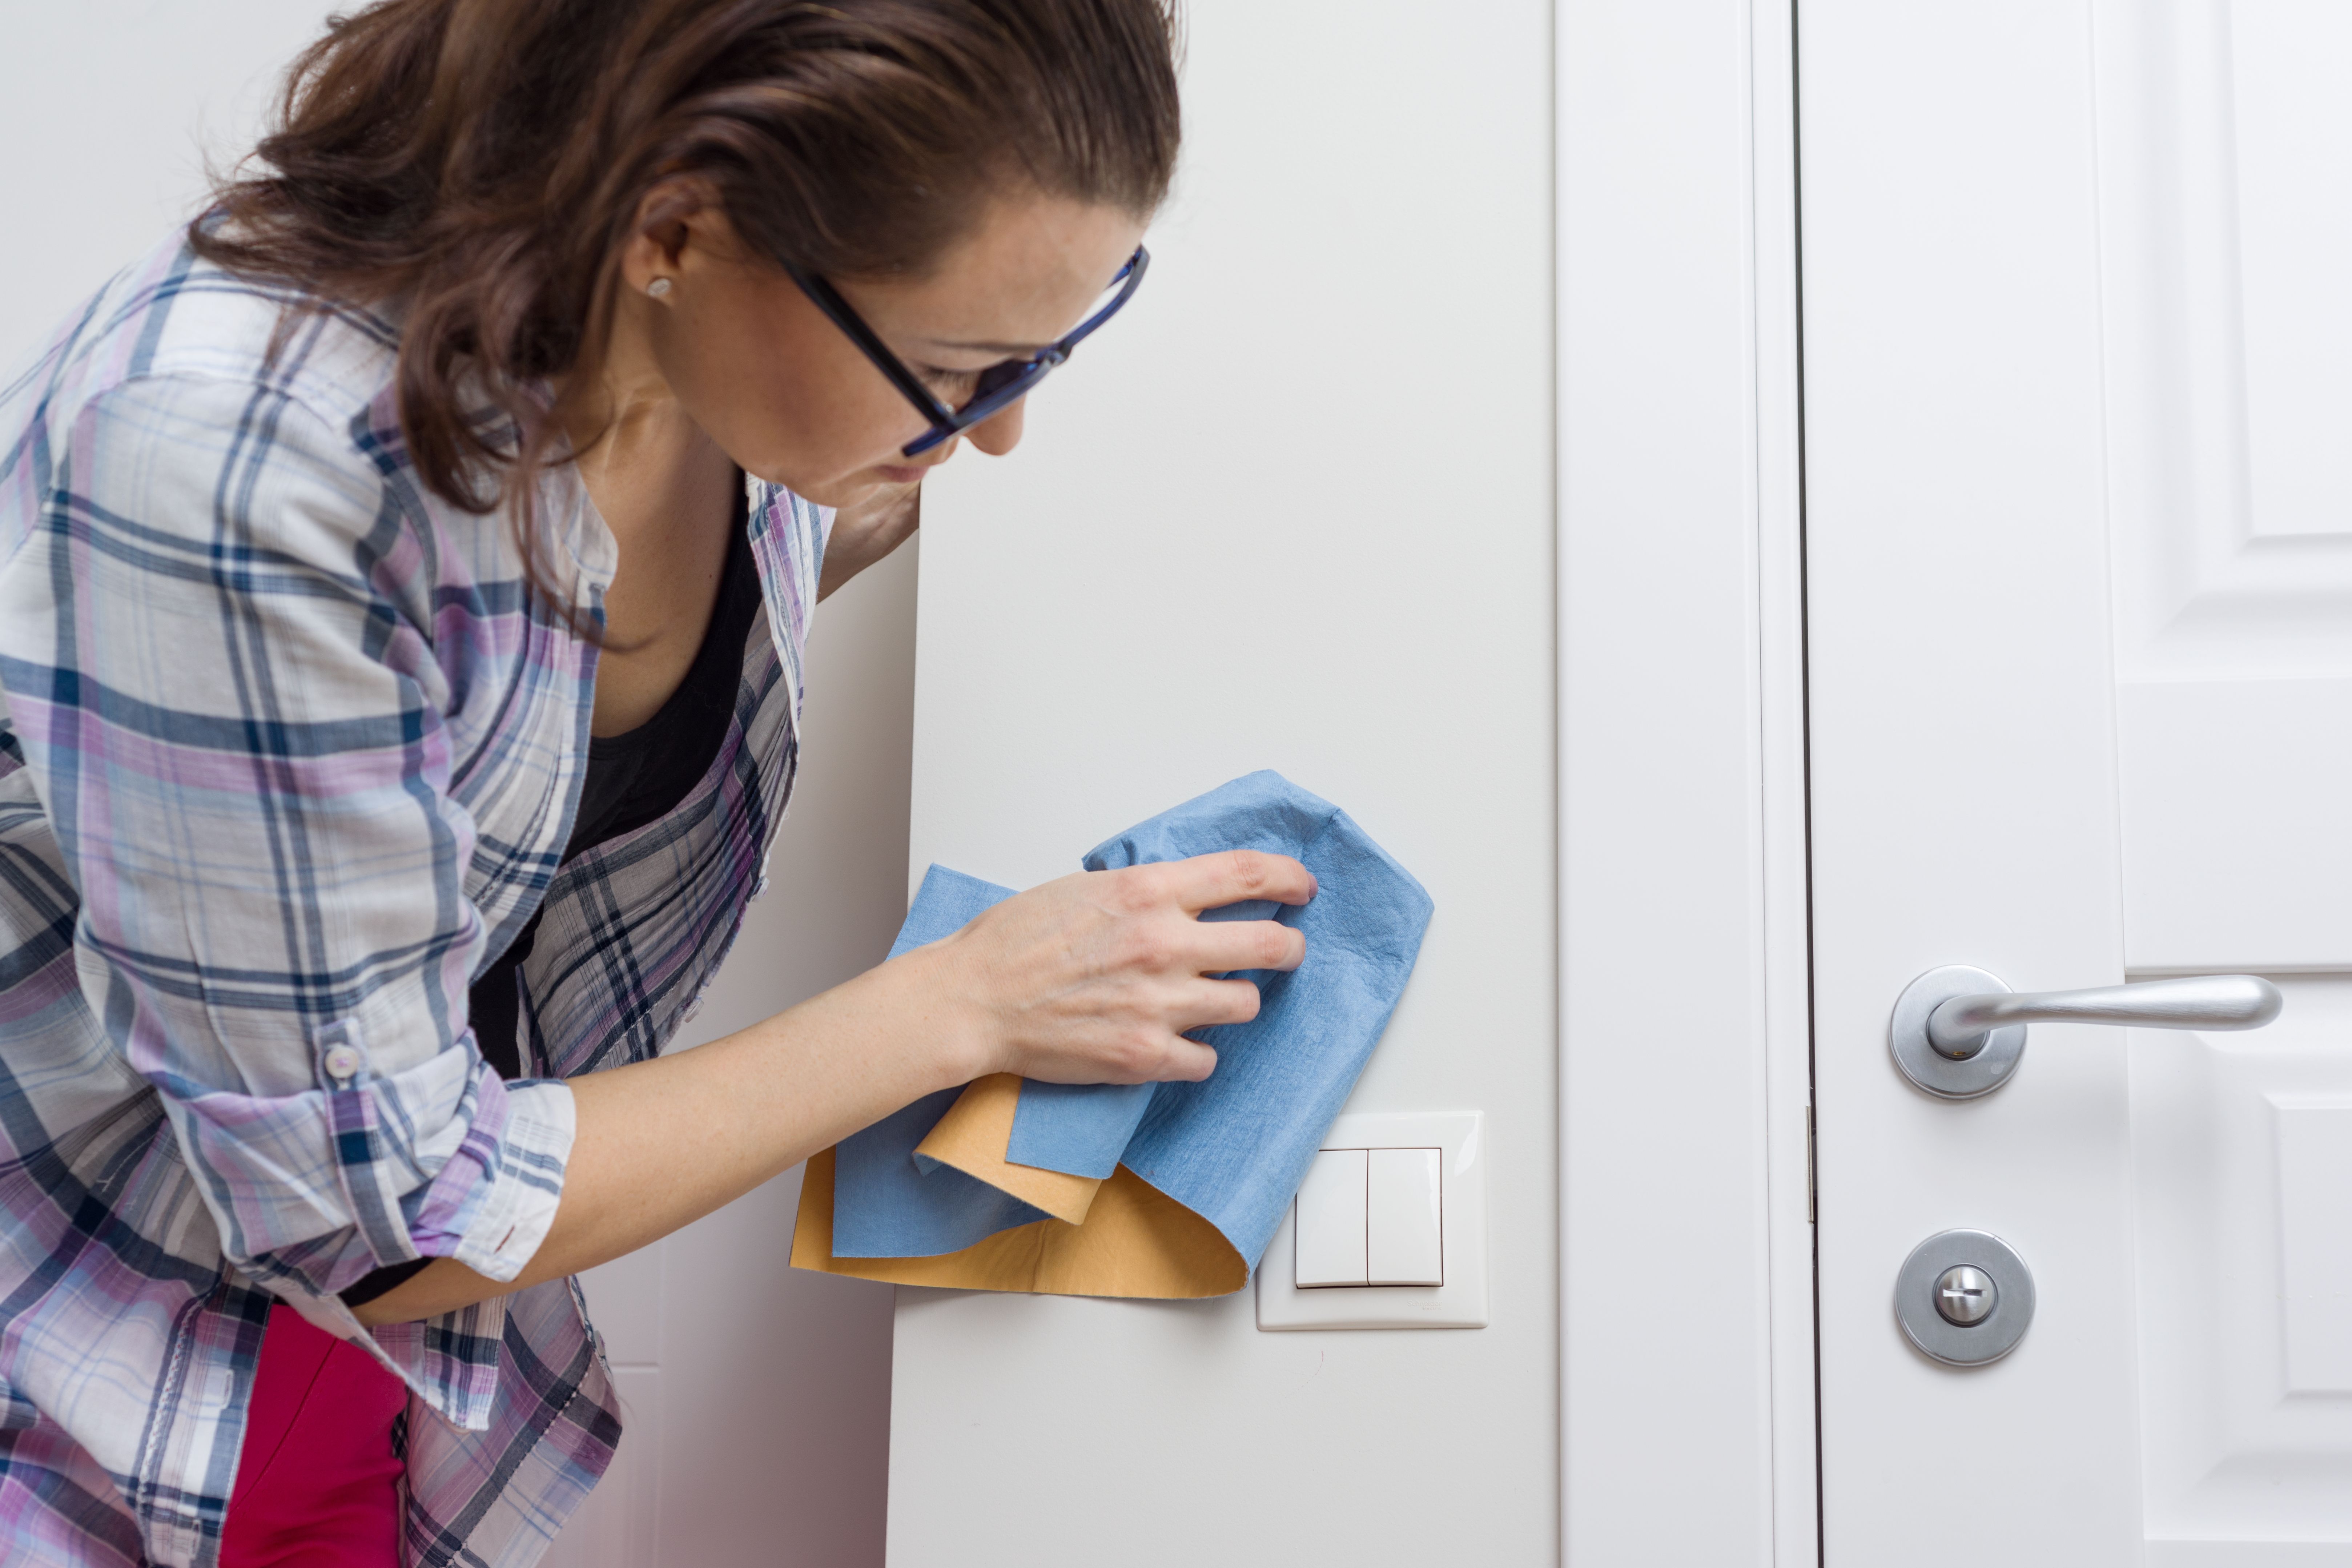
Prepare the Room
Preparing your space is crucial to avoid any damage to your floors or furniture. Start by removing any furniture from the area or covering it with drop cloths. Lay a tarp on the floor to catch any adhesive or paper scraps. Make sure to turn off the power and remove any outlet covers on the walls you'll be working on.
Test a Small Area
Before you begin removing all the wallpaper, it's wise to test a small section. This will help you determine what type of wallpaper you're dealing with and how easily it comes off. Gently peel back a corner to see if it comes off in sheets or if it requires additional soaking.
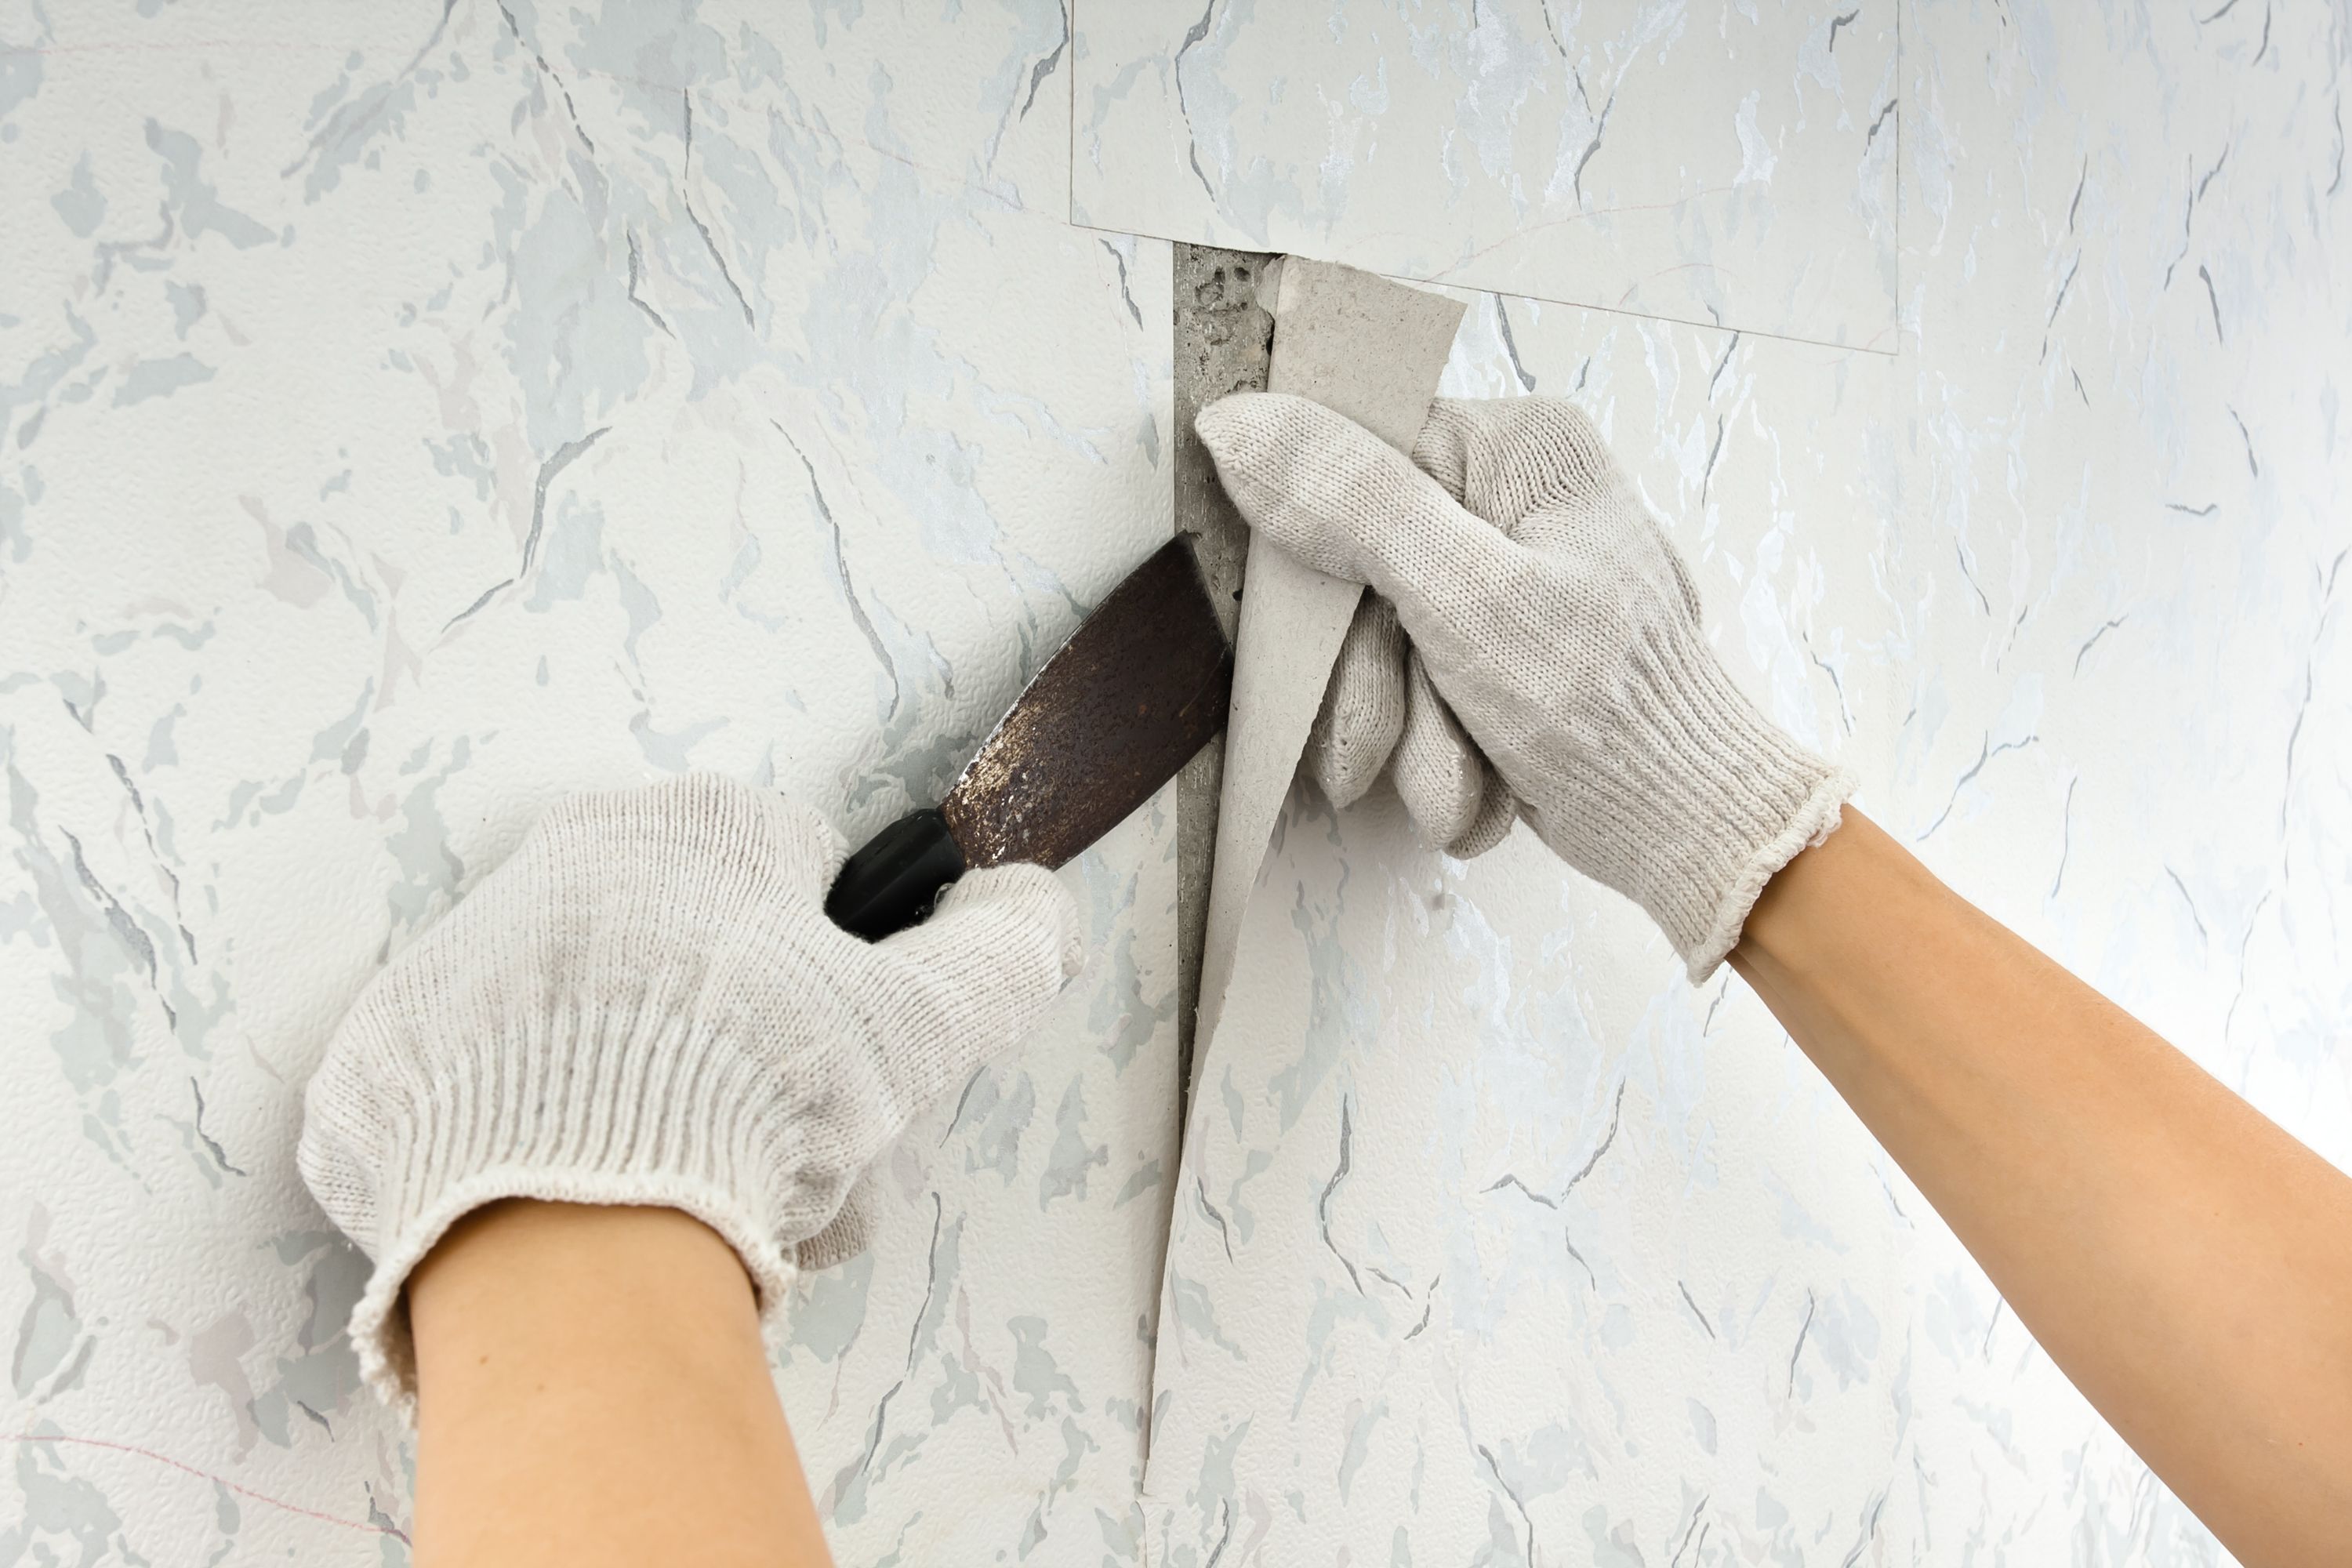
Remove the Wallpaper
Once you're prepared, it's time to tackle the wallpaper removal. Follow these steps for effective removal:
- Soak the Wallpaper: Use your wallpaper removal solution or homemade mix to soak a section of the wallpaper. Allow it to sit for a few minutes to loosen the adhesive.
- Scrape Away: Starting at a seam or edge, use your scraper to gently lift and peel away the wallpaper. Work slowly to avoid damaging the wall beneath.
- Repeat as Necessary: Continue soaking and scraping until all wallpaper is removed.
Tackle Stubborn Areas
If you encounter stubborn areas where the wallpaper won't budge, don't panic. Apply more solution and let it sit longer before attempting to scrape again. For particularly tough spots, consider using a steamer or scoring tool to break down the adhesive further.
Clean Up and Repair
After successfully removing all the wallpaper, it's time to clean up. Wipe down the walls with a damp sponge to remove any residual adhesive. Inspect your walls for any damages or holes that need repairing before painting or applying new wallpaper.
Removing wallpaper like a pro involves patience and attention to detail. With these steps, you'll be well on your way to transforming your space with ease. Remember, preparation and proper technique are key to achieving the best results. Happy renovating!